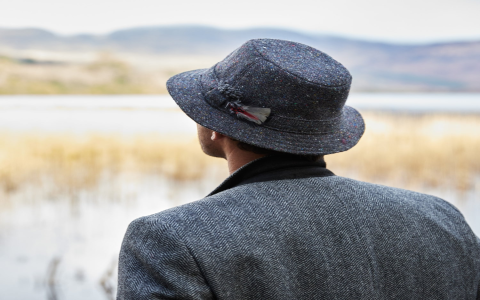
Okay, so I saw this picture of an “Iraqi hat” online, and I thought, “Hey, I can probably make that!” I’m not a pro knitter or anything, just someone who likes to mess around with yarn sometimes. So, here’s how my little adventure went.
Finding the Stuff
First, I needed to gather my materials. I already had a bunch of yarn scraps lying around – that’s one of the perks of being a crafty hoarder! I picked out some cream-colored yarn and some darker, brownish yarn. I think they were both worsted weight, but honestly, I just eyeballed it.
I also grabbed my trusty set of knitting needles. I think I used size 8 (5mm), but again, I’m not 100% sure. I just picked the ones that looked like they’d work with the yarn.
The Knitting Begins!
I started by casting on… oh, I don’t know, maybe 80 stitches? I just made a guess based on how big I wanted the hat to be. I wanted it to be a bit slouchy, so I went with a higher number.
- I knitted in the round, using the magic loop method because I hate double-pointed needles.
- I did a simple 1×1 rib for the brim – you know, knit one, purl one, repeat forever.
- I did the ribbing for maybe 2 inches? I just kept going until it looked right.
The Colorwork (aka the Slightly Scary Part)
Then came the colorwork. I’m not gonna lie, I was a bit intimidated. I’ve done some basic colorwork before, but nothing too complicated. I found a simple geometric pattern online that looked vaguely like the one on the hat I saw. It was basically just squares and rectangles.
I started by knitting a few rows in the cream color, then I introduced the brown yarn. I tried to keep the floats (the strands of yarn on the back) loose, but I’m sure they were a mess. I just kept reminding myself that it’s the inside of the hat, so who cares, right?

I followed the pattern as best as I could, but I definitely messed up a few times. I had to rip back a few rows here and there, but hey, that’s part of the process! I think making something is way better and you feel so proud in the end.
Finishing Up
After I finished the colorwork section, I went back to the cream yarn and knitted a few more inches. Then, I started decreasing to shape the crown. I just did some basic decreases – knit two together, knit a few stitches, knit two together, repeat – until I had only a few stitches left.
I cut the yarn, pulled it through the remaining stitches, and wove in the ends. And that was it! My very own, slightly wonky, but definitely handmade, “Iraqi hat”.
It’s not perfect, but I’m pretty happy with how it turned out. It was a fun little project, and I learned a few things along the way. Maybe next time I’ll try a more complicated pattern… or maybe I’ll just stick to scarves. We’ll see!


