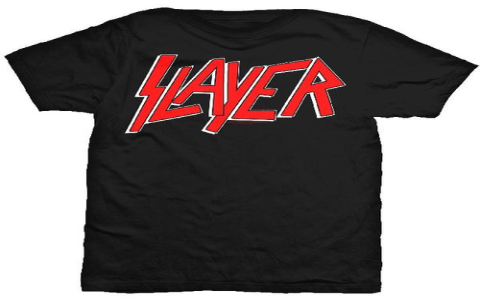
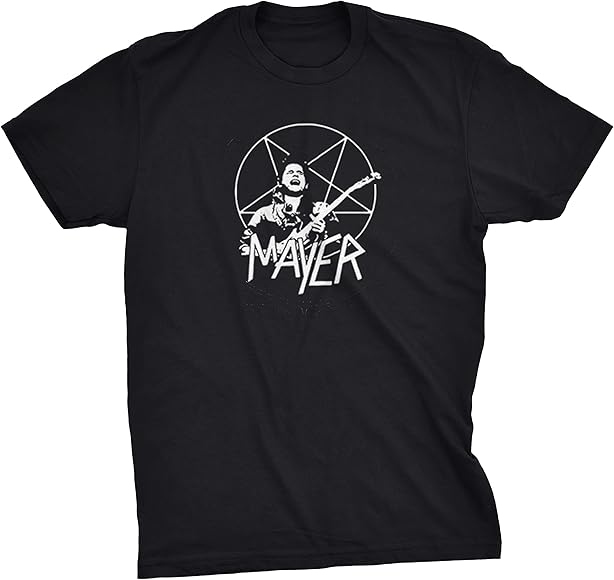
Okay, so I saw this “Mayer Slayer” shirt design floating around and thought, “Hey, I can probably make that myself!” I’m no professional, but I figured, why not give it a shot? It looked simple enough.
First, I needed a plain white t-shirt. I grabbed one from my closet – an old one I didn’t mind experimenting on. If I messed up completely, no big loss, right?
Next, I needed to figure out how to get the design onto the shirt. I don’t have any fancy equipment, so I decided to go with the classic freezer paper stencil method. I’d printed out the “Mayer Slayer” text, the design I got was simple words. I just used my regular home printer for this.
Then, I grab the roll of freezer paper from the kitchen. I cut out a rectangle big enough for my design. Shiny side down, I carefully placed the printed design on top of the freezer paper and I took my time and traced every letter onto the freezer paper, I pressed pretty hard with the pen to make sure I got all the details.
The Tricky Part: Cutting the Stencil
This was probably the most tedious part. I used a small, sharp craft knife, and very, very slowly cut out the letters from the freezer paper. The inner parts of the ‘A’ and ‘R’ were the real challenge! It is really hard and needs more patience.
- Tip: I put a cutting mat underneath to protect my table. I also found that pulling the paper taut while cutting helped a lot.
Once the stencil was ready, I placed it on the shirt, shiny side down. Then, with a hot iron (no steam!), I ironed over the freezer paper. The heat makes the shiny side stick to the fabric, creating a seal.
Time for Paint!
I used some black fabric paint I had leftover from another project. I carefully applied the paint to the stencil, I made sure not to use too much, so it wouldn’t bleed under the edges.
After letting the paint dry for a few hours (I might have been a little impatient, but I checked it every 30 minutes), I carefully peeled off the freezer paper. And…it worked! I have to say it is a very happy moment.
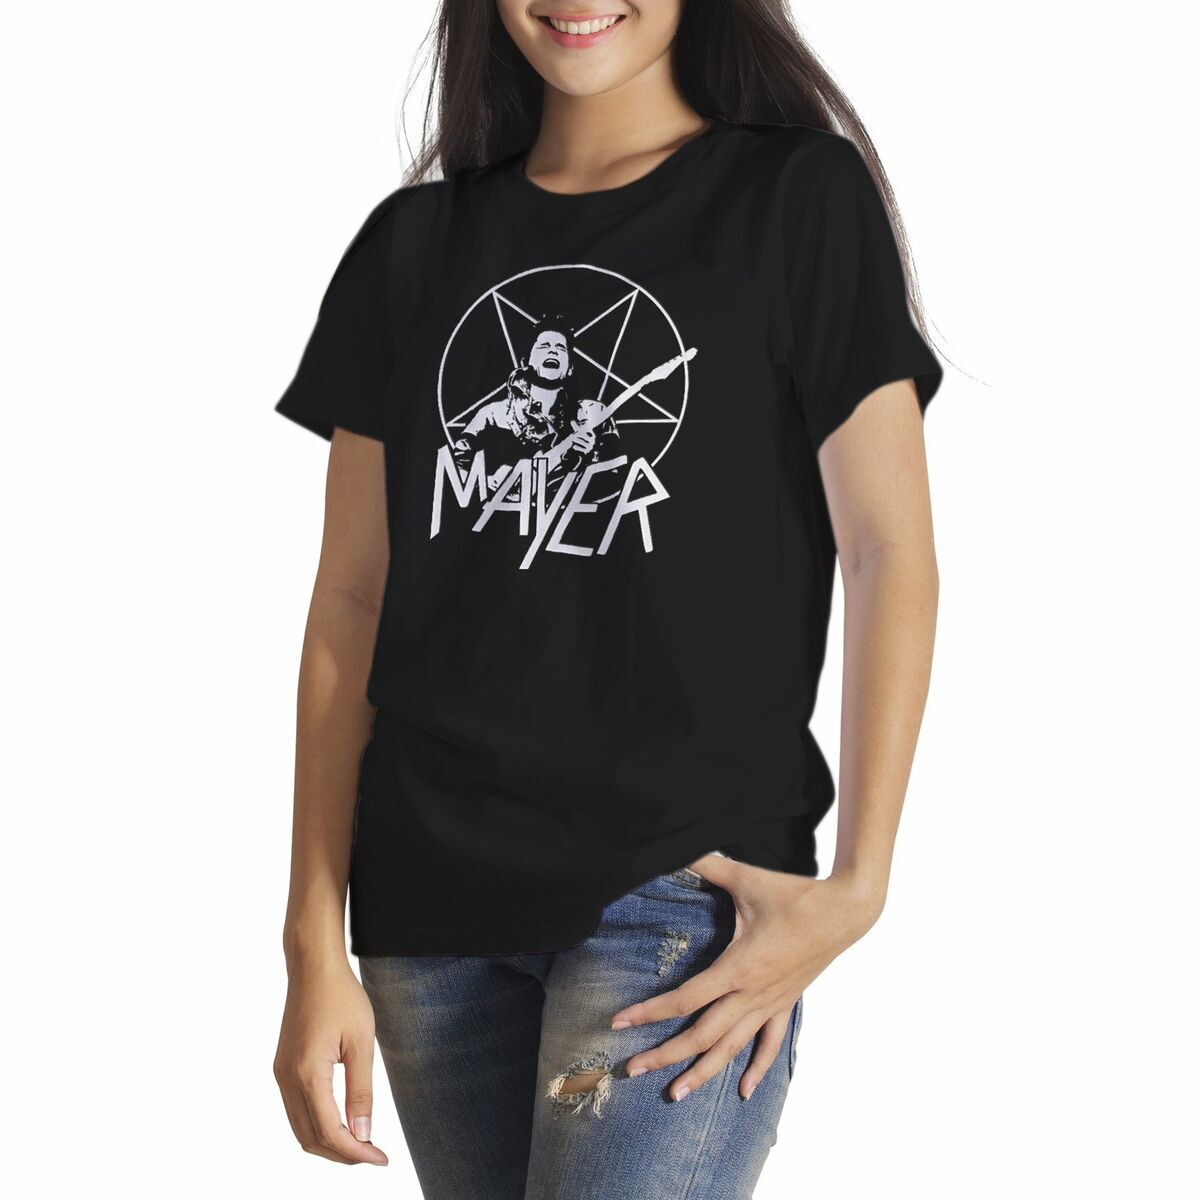
It wasn’t perfect, There were a couple of tiny spots where the paint had smudged a little. The letters looked pretty good! It definitely had that homemade, slightly rough-around-the-edges vibe, which I actually kind of liked.
So, yeah, that’s how I made my own “Mayer Slayer” shirt. It was a fun little project, and it definitely saved me some money. I’m not going to be selling these on any store anytime soon. But it’s cool to have a unique shirt that I made myself!


