Alright, let’s talk about this little project I got myself into – making a BMF belt replica. You see them online, right? Look cool, but wow, they can cost a lot. I thought, “How hard can it be? Maybe I can just make one.” So, that’s what I decided to do.
Getting Started – The Hunt for Parts
First step was figuring out what I needed. I knew I needed a main plate, some side plates, and a belt strap. I didn’t want to spend a fortune, so I started digging around my garage and craft boxes.
- Found a decent strip of black pleather that looked sturdy enough for the belt itself. Leftover from another project ages ago.
- For the plates, I decided to use craft foam. Easy to cut, lightweight, and you can layer it to make it look thicker. Grabbed a few sheets of that.
- Needed that metallic look, so gold paint was a must. Found a can of spray paint and some smaller bottles of acrylic gold for details.
- Also grabbed some strong glue, a craft knife, scissors, and a marker. Basic stuff, really.
Didn’t have an exact plan, just a picture in my head and a few photos I found online for reference.
Making the Plates – Cutting and Gluing
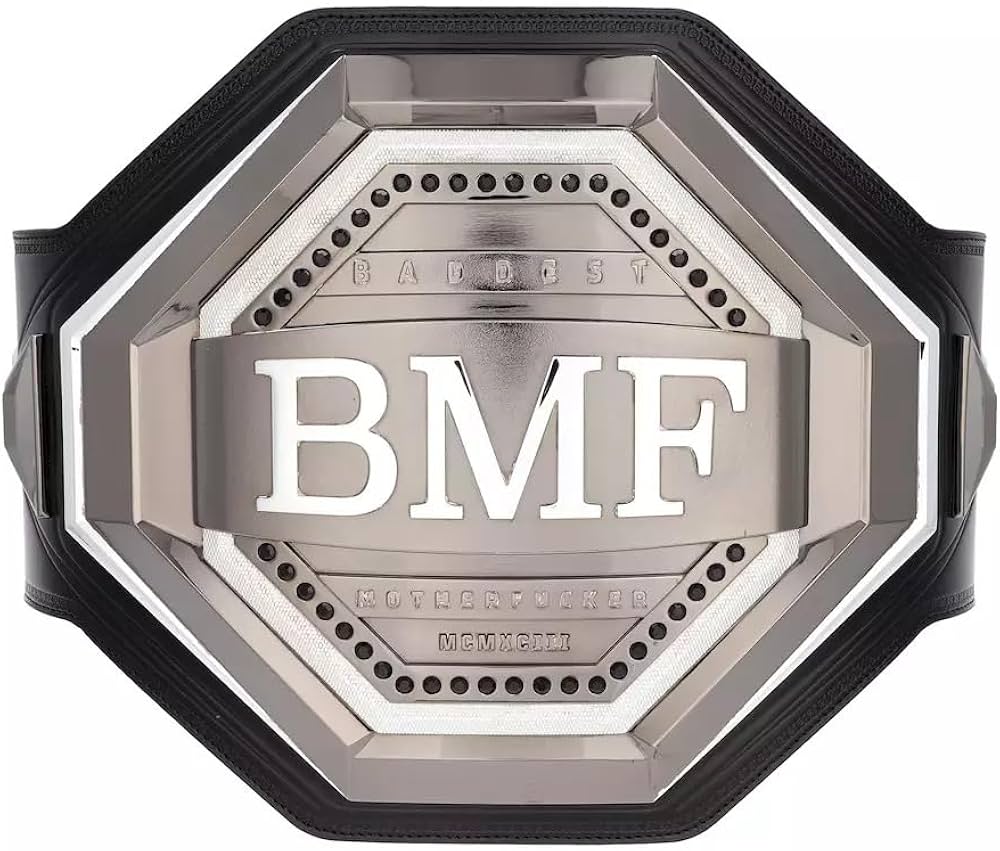
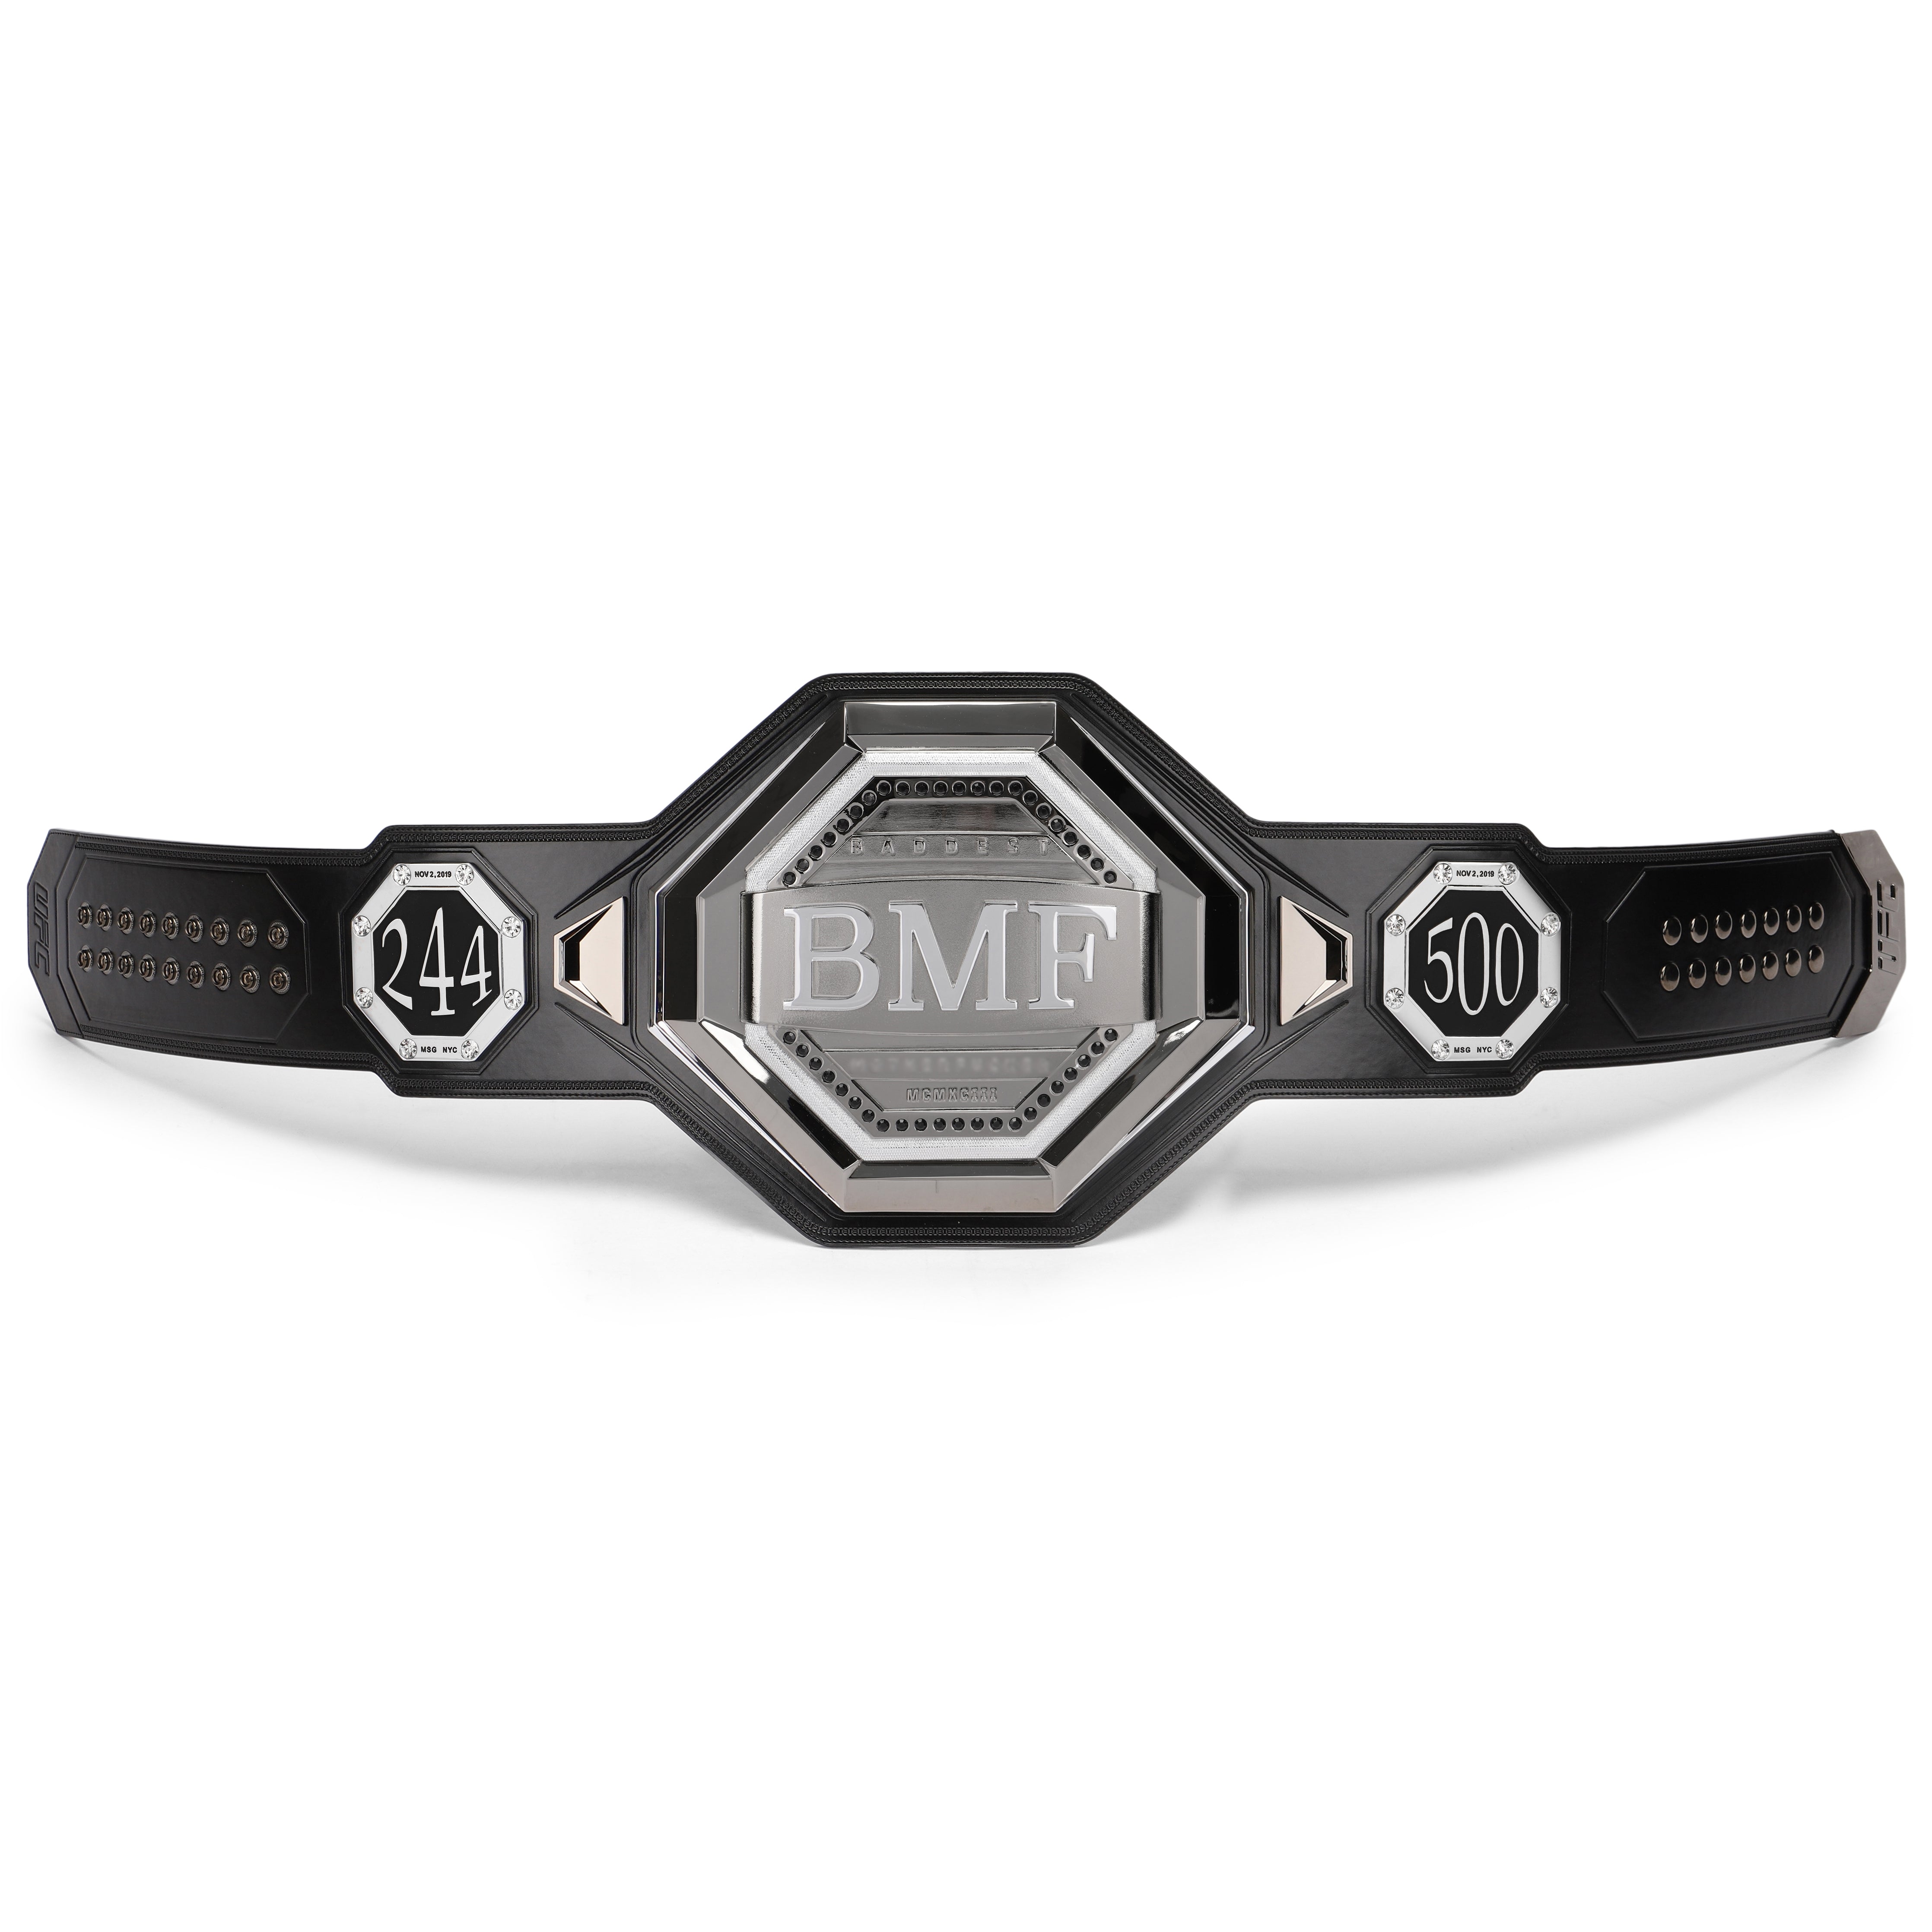
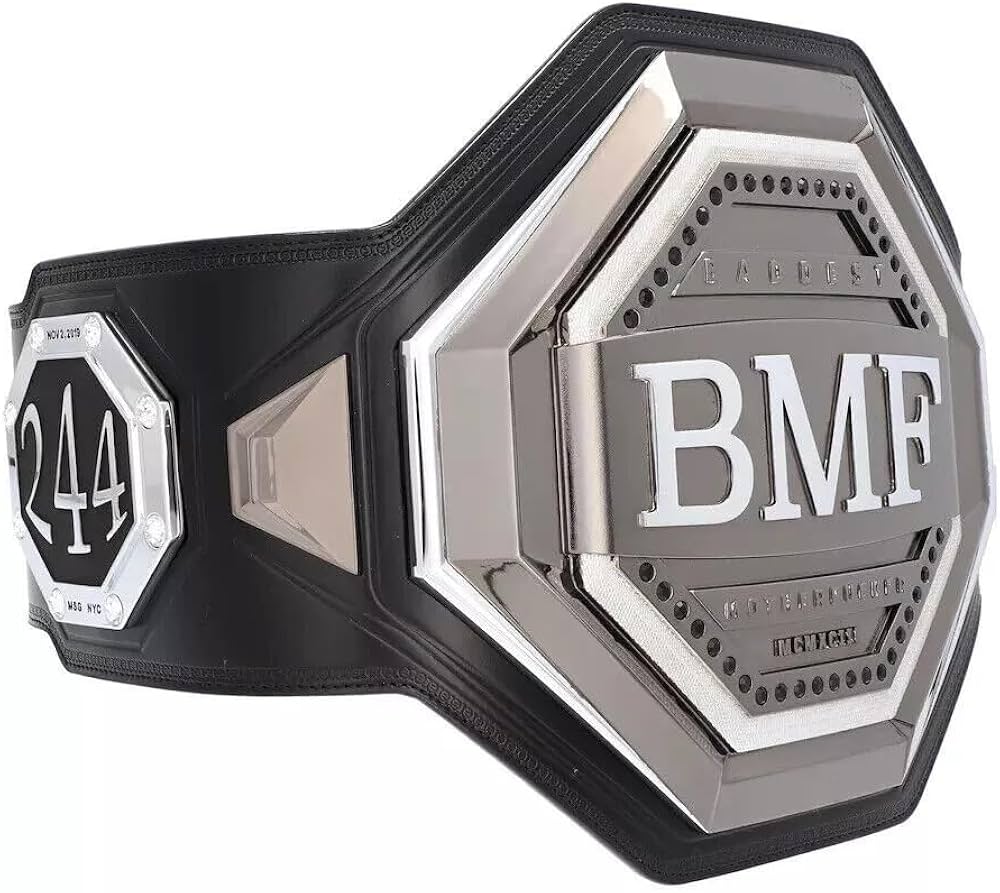
This was the main part of the job. I started with the big center plate. Sketched out the shape onto the craft foam, using the pictures as a guide. It wasn’t perfect, kinda eyeballed the proportions.
I cut out the main shape, then cut out some other layers to give it that raised, 3D look, just like the real ones seem to have. Glued those layers together carefully. Then came the ‘BMF’ letters. Cut those out of thinner foam, painted them gold separately, and then glued them onto the main plate once it was dry. Took a bit of fiddling to get them centered.
The side plates were easier, smaller shapes. Did the same thing – cut the basic shape from foam, added maybe one layer for dimension, and painted them gold. Let everything dry really well. The painting took a couple of coats to get that shiny metallic look I wanted. Had to be patient here, let the paint cure properly.
Putting It All Together
Once the plates were done and dry, it was time to attach them to the pleather strap. I laid the strap out flat and positioned the plates where I thought they looked best. Spacing was key – didn’t want them too close or too far apart.
I decided to use a combination of strong adhesive and, for the main plate, I actually managed to use some small bolts I had. Drilled tiny holes through the foam plate and the pleather, then secured it. Seemed sturdier that way. For the side plates, glue seemed strong enough. I put weights on them while the glue set overnight.
I also needed a way to fasten the belt. I scavenged a simple buckle mechanism from an old belt I wasn’t using anymore and attached it to one end of the pleather strap. Added some velcro on the ends for adjustability too, just to make it easier to wear.
The Finished Belt – Final Look
After everything was assembled and the glue was totally cured, I took a good look. Honestly? It turned out better than I expected! The craft foam, once painted gold, really gave off that metal vibe, especially from a short distance. It had the right shape, the right look.
It’s definitely not a perfect, professional replica. You can tell it’s handmade if you inspect it closely. But for a fun project, just to see if I could do it? I was pretty happy. It looks the part, feels substantial enough, and didn’t cost me much besides time and some basic materials I mostly already had.
It was a fun process, figuring things out as I went along. Sometimes you just gotta try making things yourself, you know? There’s a certain satisfaction in that.


