Okay, so today I’m spilling the tea on my Genshin Impact Razor project from earlier this year. It wasn’t anything super fancy, but I learned a bunch, and maybe you can too.
It all started ’cause I was bored, plain and simple. I was scrolling through my Genshin character list, and Razor’s design just kinda popped. I thought, “Hey, I could try to recreate that in [insert your 3D software or medium here, e.g., Blender, Unity, clay].” I hadn’t really done anything like that before, mostly just followed tutorials, so this was a step up for me.
First things first, reference gathering. I spent a solid hour just grabbing screenshots of Razor from every angle imaginable. In-game, character demos, even fan art (for inspiration, not copying!). The more angles, the better. Trust me on this.
Then came the actual modeling/sculpting/whatever-you-call-it stage. This was the killer. I started with the head, ’cause that seemed like the most important part to get right. I spent like, three days just tweaking the shape of his face. It was frustrating, but I slowly started to see Razor taking form. Pro-tip: don’t be afraid to scrap what you’ve got and start over. I did that at least twice.
Next up was the hair. Ugh. Anyone who’s tried to model anime hair knows the pain. I ended up breaking it down into smaller chunks and building it piece by piece. It looked kinda clunky at first, but after some smoothing and tweaking, it started to resemble Razor’s wild, spiky hair.
Clothing was surprisingly easier than the hair. I just blocked out the basic shapes and then added details like the fur trim and the ragged edges. Texturing it was a whole other beast though. I spent ages trying to get the right leathery look for his shorts.
After the modeling was done, I moved onto texturing and materials. This is where the character really started to come to life. I messed around with different shaders and lighting setups until I got something I was happy with. Getting the right colors was key to really capturing Razor’s vibe.
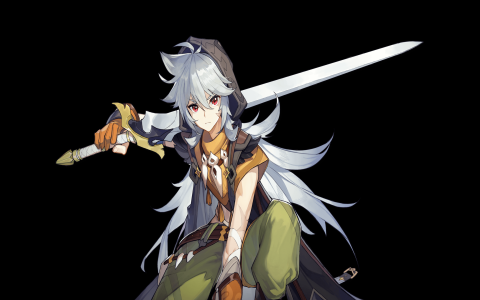
Finally, I posed him. I wanted to capture his energetic personality, so I went for a dynamic pose with his Claymore held high. A little bit of post-processing to adjust the colors and lighting, and boom! Done.
Was it perfect? Hell no. There are definitely things I’d do differently next time. But I learned a ton about character modeling and texturing, and I’m pretty proud of how it turned out. Plus, it was a fun way to spend my free time. If you’re thinking about tackling a similar project, I say go for it! Don’t be afraid to experiment and make mistakes. That’s how you learn.
Key takeaways?
- Gather lots of references. Seriously, you can never have too many.
- Don’t be afraid to start over. Sometimes it’s the only way to get it right.
- Pay attention to details. They make all the difference.
- Have fun! If you’re not enjoying the process, what’s the point?
That’s about it! Hope this was helpful. Let me know in the comments if you have any questions. And good luck with your own projects!


