Alright, buckle up, because I’m about to spill the beans on how I ended up with a Fiesta Bowl ring. It’s not as glamorous as you might think – no fancy football skills involved, just good ol’ elbow grease and a healthy dose of “I can probably figure that out.”
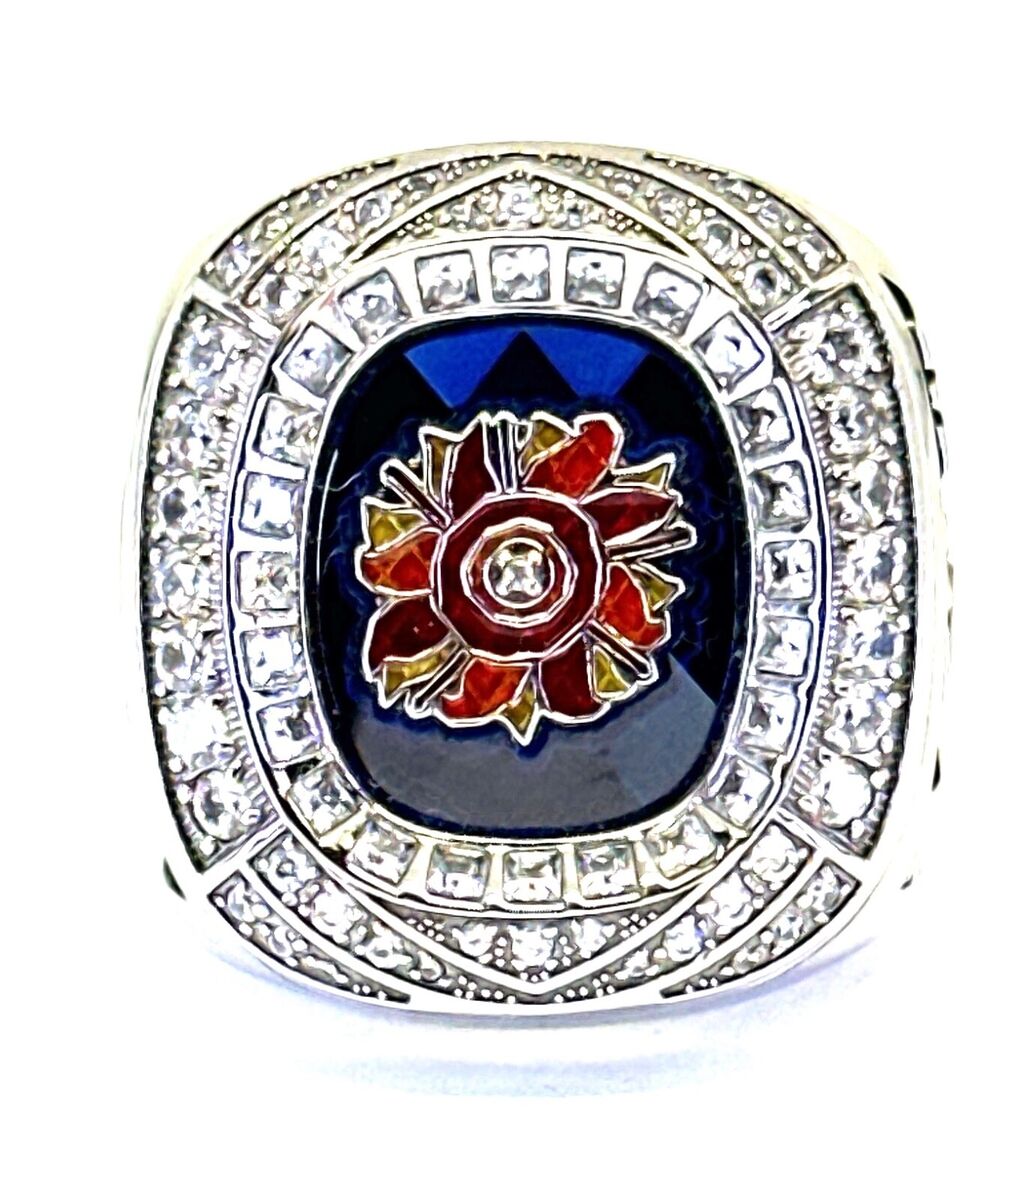
So, it all started a few months back. My buddy, let’s call him Mark, his uncle coaches for one of the teams that played in the Fiesta Bowl. And Mark, being the awesome dude he is, managed to snag a ring… well, an opportunity to snag a ring. Turns out, the team had some extras, and Mark knew I was into making stuff, so he asked if I could maybe, possibly, try to recreate one. He showed me some photos – blingy, HUGE, and definitely something I couldn’t just buy off the shelf.
First things first, research! I spent a solid week just staring at pictures of Fiesta Bowl rings online. I tried to figure out the materials – looked like a mix of gold, some kind of stone (probably cubic zirconia, let’s be real), and enamel for the colors. I even watched a bunch of videos on how they make championship rings, which was way more interesting than I expected.
Next up: design. I’m no jeweler, but I can handle some basic 3D modeling. I fired up Blender (free and powerful, can’t beat it), and started piecing together the ring shape. This was the most time-consuming part. Getting the proportions right, matching the curves and angles from the photos… ugh. I probably scrapped the design five times before I was happy with it.
Then came the printing! I have a resin 3D printer, which is perfect for detail work. I printed the ring in a few separate pieces – the main body, the side panels with the team logos, and the bezel for the stone. This let me get cleaner details and avoid needing a ton of supports. It took a few tries to get the settings dialed in just right – resin printing can be finicky, you know?
After printing, it was all about the finishing. This is where the elbow grease came in. I spent hours sanding, polishing, and smoothing out the print lines. Then I primed everything and gave it a coat of gold paint. I tried a few different paints before I found one that looked halfway decent.
Now for the details. I bought a bunch of cheap cubic zirconia stones online. They weren’t perfect, but they were good enough for this project. I carefully glued them into the bezel. For the team logos on the sides, I printed out decals and applied them to the panels before sealing everything with a clear coat. I also used some enamel paint to fill in the colored parts of the logos. Man, that was tedious.
Finally, the assembly. I glued all the pieces together, did some final touch-ups, and… BAM! A Fiesta Bowl ring! Okay, it wasn’t exactly like the real thing. Mine was made of resin and fake stones, and it definitely didn’t have the same weight or craftsmanship. But hey, it looked pretty darn good, especially considering I made it in my garage.
- 3D Model in Blender
- Resin Print the Parts
- Sand and Polish
- Gold Paint
- Apply Decals and Enamel
- Glue Everything Together
I showed it to Mark, and he was blown away. He said it was way better than he expected. He even wore it to a party and told everyone it was the real deal. I’m not sure if anyone believed him, but it was fun to watch him try.
So, yeah, that’s the story of how I got a Fiesta Bowl ring. It wasn’t easy, but it was a fun project. And hey, now I have a sweet piece of bling to show off. Maybe I’ll try making a Super Bowl ring next…


