Alright, let me tell you about this “Arizona Color Rush” thing I messed around with.
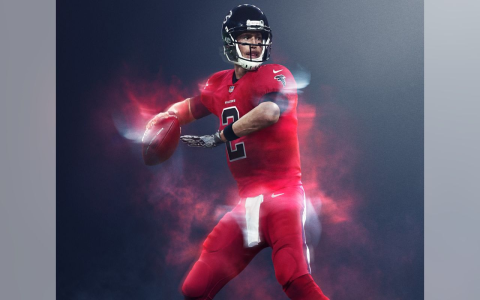
So, I was kinda bored, right? Just scrolling through some design blogs, and I saw someone mention the Arizona Cardinals’ Color Rush uniforms. I thought, “Hey, those are kinda cool, maybe I can try to replicate that vibe.” Not copy them exactly, mind you, but just get that feeling.
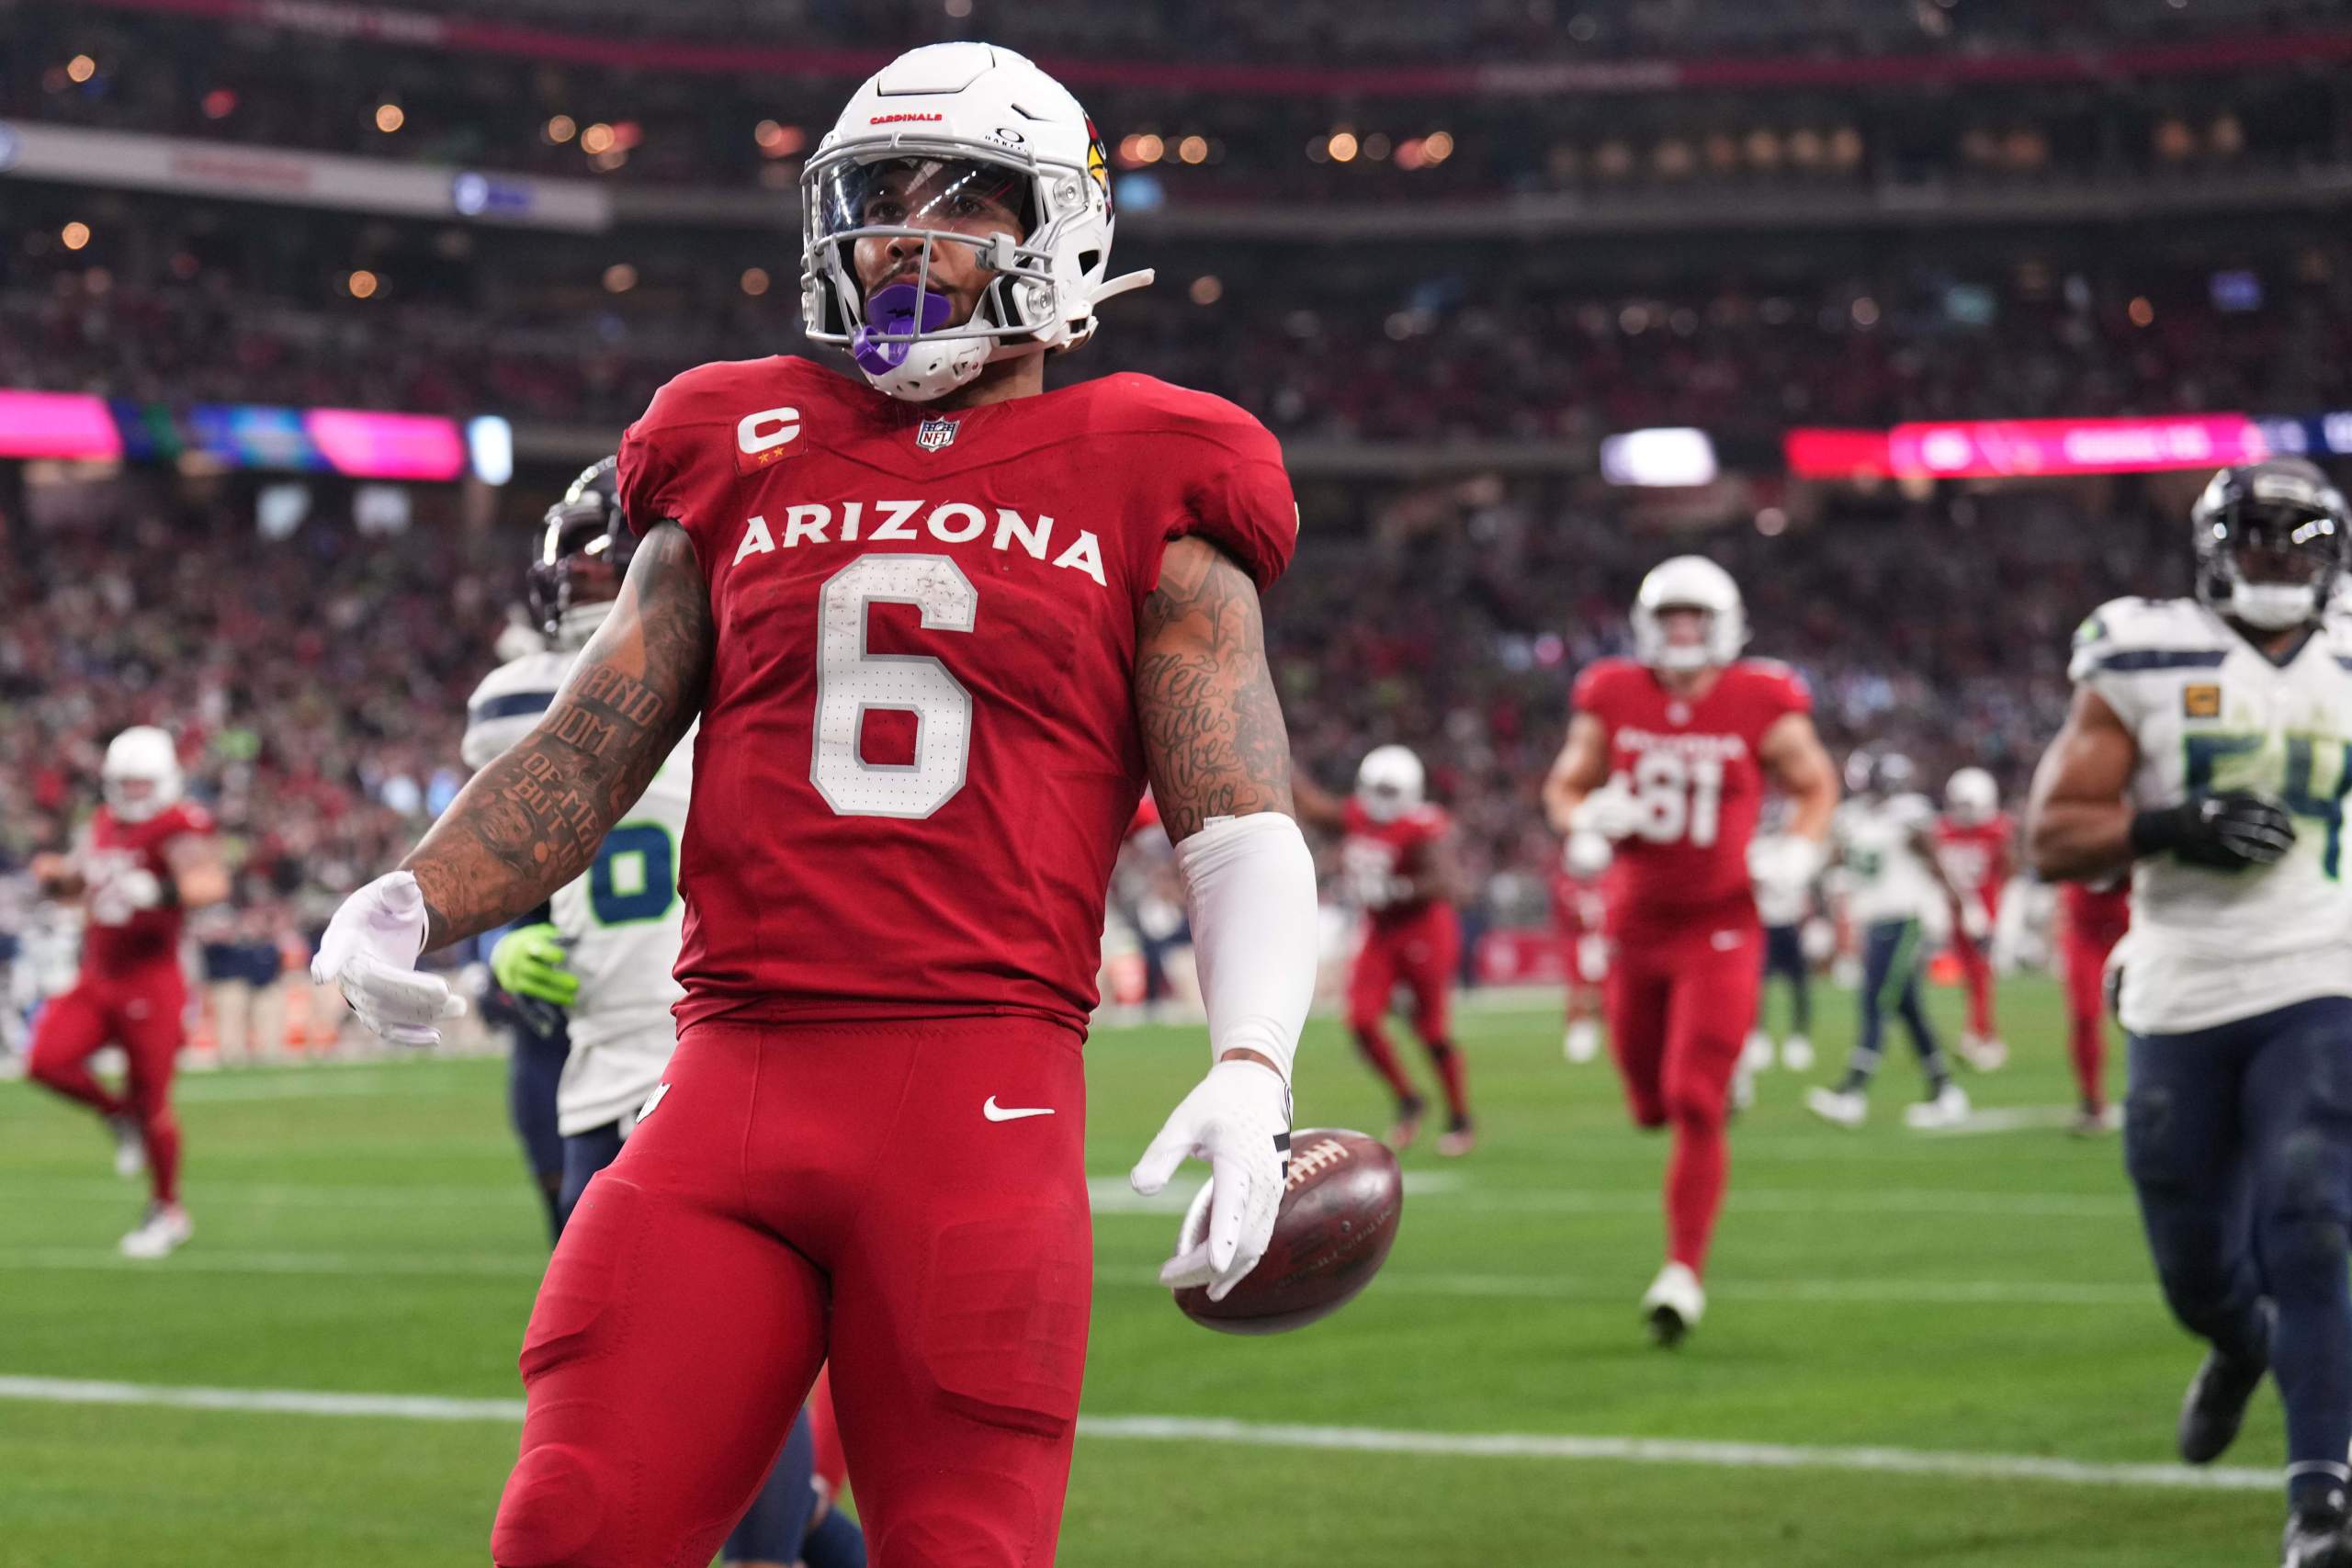
First thing I did was hit up Google Images. I needed a good reference. Searched for “Arizona Cardinals Color Rush jersey” and started saving a bunch of pictures. I wanted to get a good look at the colors, the texture, the overall feel of the thing.
Then I fired up my trusty old Photoshop. I’m no pro, just a dabbler, but I know enough to be dangerous. I started with a basic orange background – you know, that bright, almost traffic-cone orange they use. I used the paint bucket tool for that, easy peasy.
Next, I wanted to add some texture. The jerseys aren’t just flat orange, they’ve got some kind of pattern going on. I found a subtle leather texture online, desaturated it so it was just grayscale, and then overlaid it on the orange background. I played around with the blending modes – “Overlay” and “Soft Light” were my favorites – until I got something that looked kinda like the real thing.
After that, I decided to try making a stylized logo thing. I grabbed the Cardinals’ bird logo from online, but I didn’t want to just slap it on there. I made it a little more abstract, using the pen tool to trace the basic shapes and simplify it. Then, I filled it with a darker shade of orange, almost a burnt orange. I also gave it a slight gradient to make it pop a bit more.
To add some depth, I duplicated the logo layer and blurred the bottom one slightly, creating a subtle drop shadow. It’s a simple trick, but it really makes a difference.
I wasn’t really going for an exact replica of the jersey, more like a feeling or an impression. So I experimented with some other elements. I added some stripes using the rectangle tool, again in that darker orange color. I played with the opacity and blending modes to make them look more like they were part of the fabric, not just stuck on top.
I fooled around with adding a little bit of black trim around the edges, just to give it a more defined look, and threw in a few vector shapes that I found online related to Arizona. Think like little cacti and geometric shapes. Nothing crazy, just trying to get that desert vibe.
In the end, it didn’t look exactly like the Color Rush jersey, but it had that same energy. Bright, bold, and kinda aggressive. It was a fun little project, and I learned a few new tricks in Photoshop along the way. Plus, now I have a cool new desktop wallpaper. Not bad for an afternoon’s work!
The whole process was just about playing around, experimenting, and not being afraid to make mistakes. That’s how I usually learn, just by jumping in and seeing what happens. Give it a try yourself sometime – you might surprise yourself with what you can create.


