Alright, so I’m gonna walk you through how I made my Cactus Jack LED sign. It was a fun little project, took me a weekend, and I’m pretty happy with how it turned out.
First things first, the idea. I’m a big Travis Scott fan, so I figured, why not a Cactus Jack sign? I did a quick search online to get some inspiration, see what others have done. Then, I sketched out my design. Just a rough outline of the Cactus Jack logo, nothing too fancy. I knew I wanted it to be a decent size, big enough to hang on the wall and actually see from across the room.
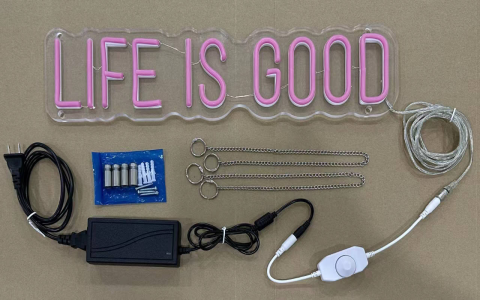
Next up, materials. This is where things get real. I needed a base, so I grabbed a sheet of plywood from the local hardware store. Nothing too thick, just something sturdy enough to hold the LEDs. I also picked up some acrylic sheet – that’s what the light will shine through. For the LEDs, I went with some addressable LED strip lights. You know, the kind you can control each LED individually. Makes for cool effects. And of course, a power supply to juice it all up. Don’t forget the wires, solder, and all that jazz.
Time to cut! I transferred my design onto the plywood. Then, I carefully cut out the shape using a jigsaw. This part takes some patience. Gotta go slow and steady to get a clean cut. Once I had the base, I cut out the same shape from the acrylic sheet, but slightly smaller, so it would fit inside the plywood frame. Sanded down all the edges to make ’em smooth and safe. Don’t want any sharp bits sticking out.
LED time! This was the most tedious part, honestly. I started by mapping out where I wanted the LEDs to go. I wanted a nice, even distribution of light. Then, I started sticking the LED strips to the back of the plywood. These strips usually have adhesive backing, but I added some extra glue just to be safe. Then came the wiring. Soldering all those little connections was a pain, but gotta do it right to make sure everything works. Positive to positive, negative to negative. You know the drill.
Assembly time! With the LEDs wired up, I carefully placed the acrylic sheet into the plywood frame. It was a snug fit, which is what I wanted. Secured it with some small screws. Then, I wired up the power supply, making sure everything was connected properly. Safety first, always!
Testing, testing! This is the moment of truth. I plugged in the power supply and crossed my fingers. And…it lit up! But not quite as expected. Some of the LEDs weren’t working. Turns out, I had a few bad solder joints. So, I had to go back in and fix those. After a bit of troubleshooting, I finally got all the LEDs working perfectly.
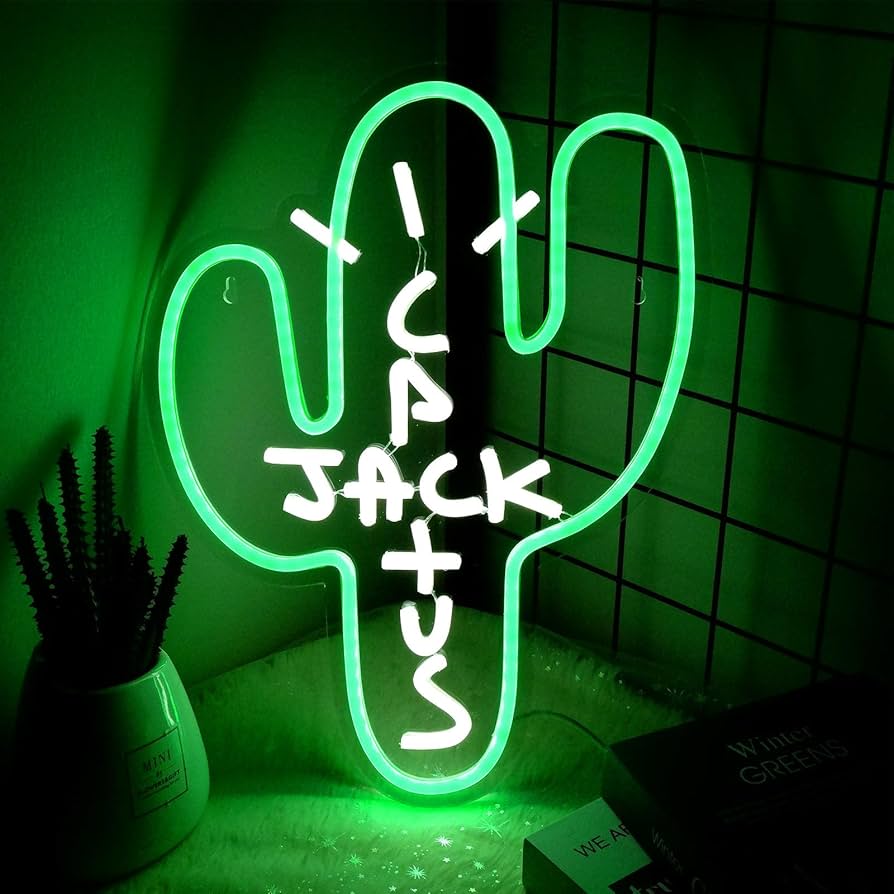
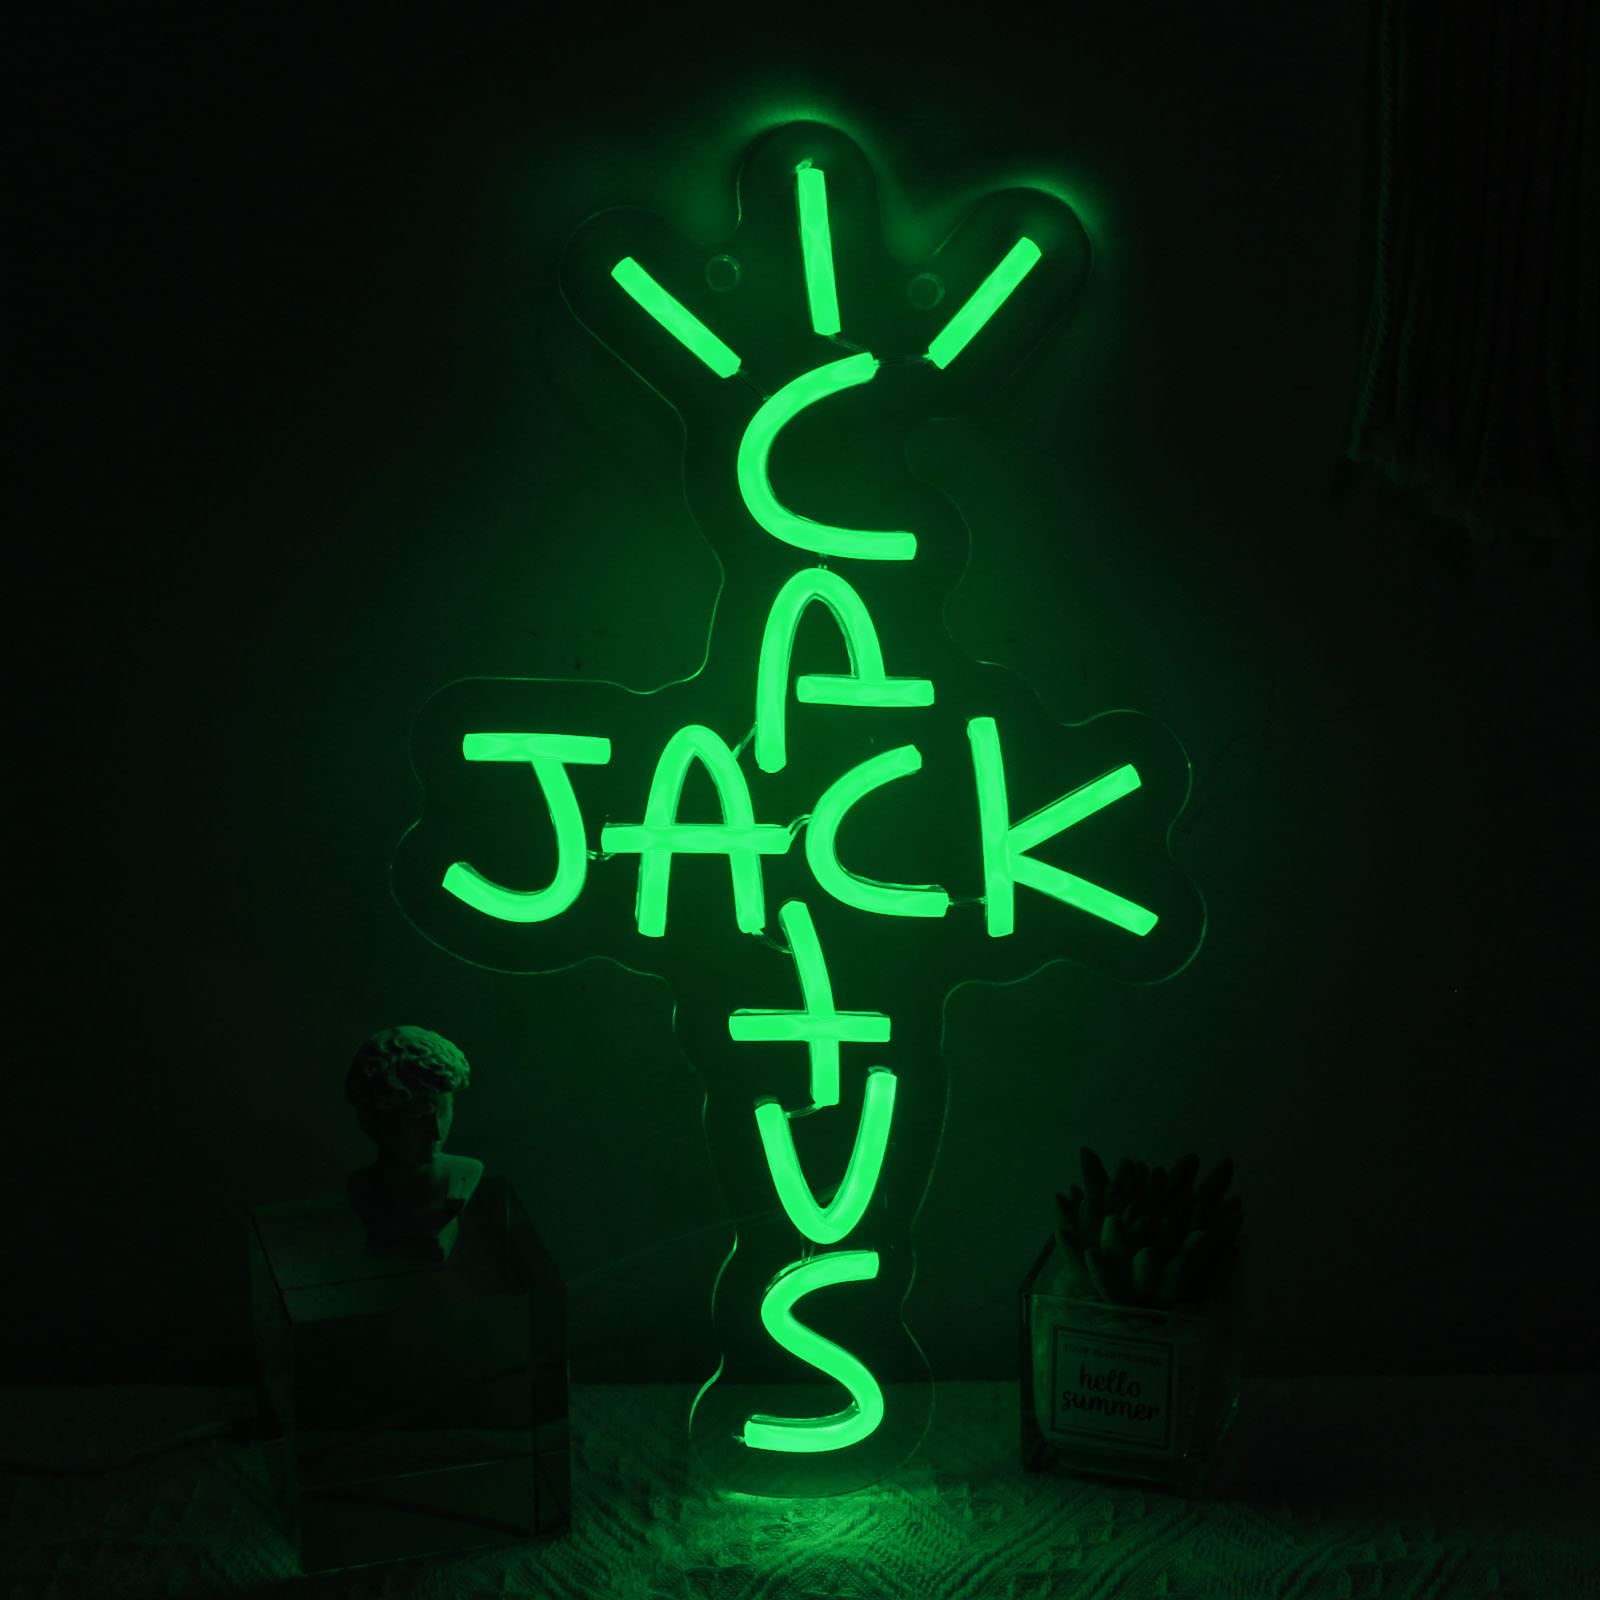
Finishing touches. Now for the fun part! I started playing around with the LED controller. Experimented with different colors and patterns. Settled on a nice, pulsing effect that looked pretty cool. I also added a mounting bracket to the back so I could hang it on the wall.
And that’s it! My Cactus Jack LED sign was done. Hung it up in my room, and it looks awesome. It was a fun project, learned a lot, and now I have a cool piece of custom decor. Definitely worth the effort.
- Pro tip: Take your time. This isn’t a race. The more careful you are, the better the result will be.
- Another tip: Don’t be afraid to experiment. Try different LED patterns and colors until you find something you like.
Would I do it again? Absolutely! Maybe next time I’ll try a different design. Who knows?


