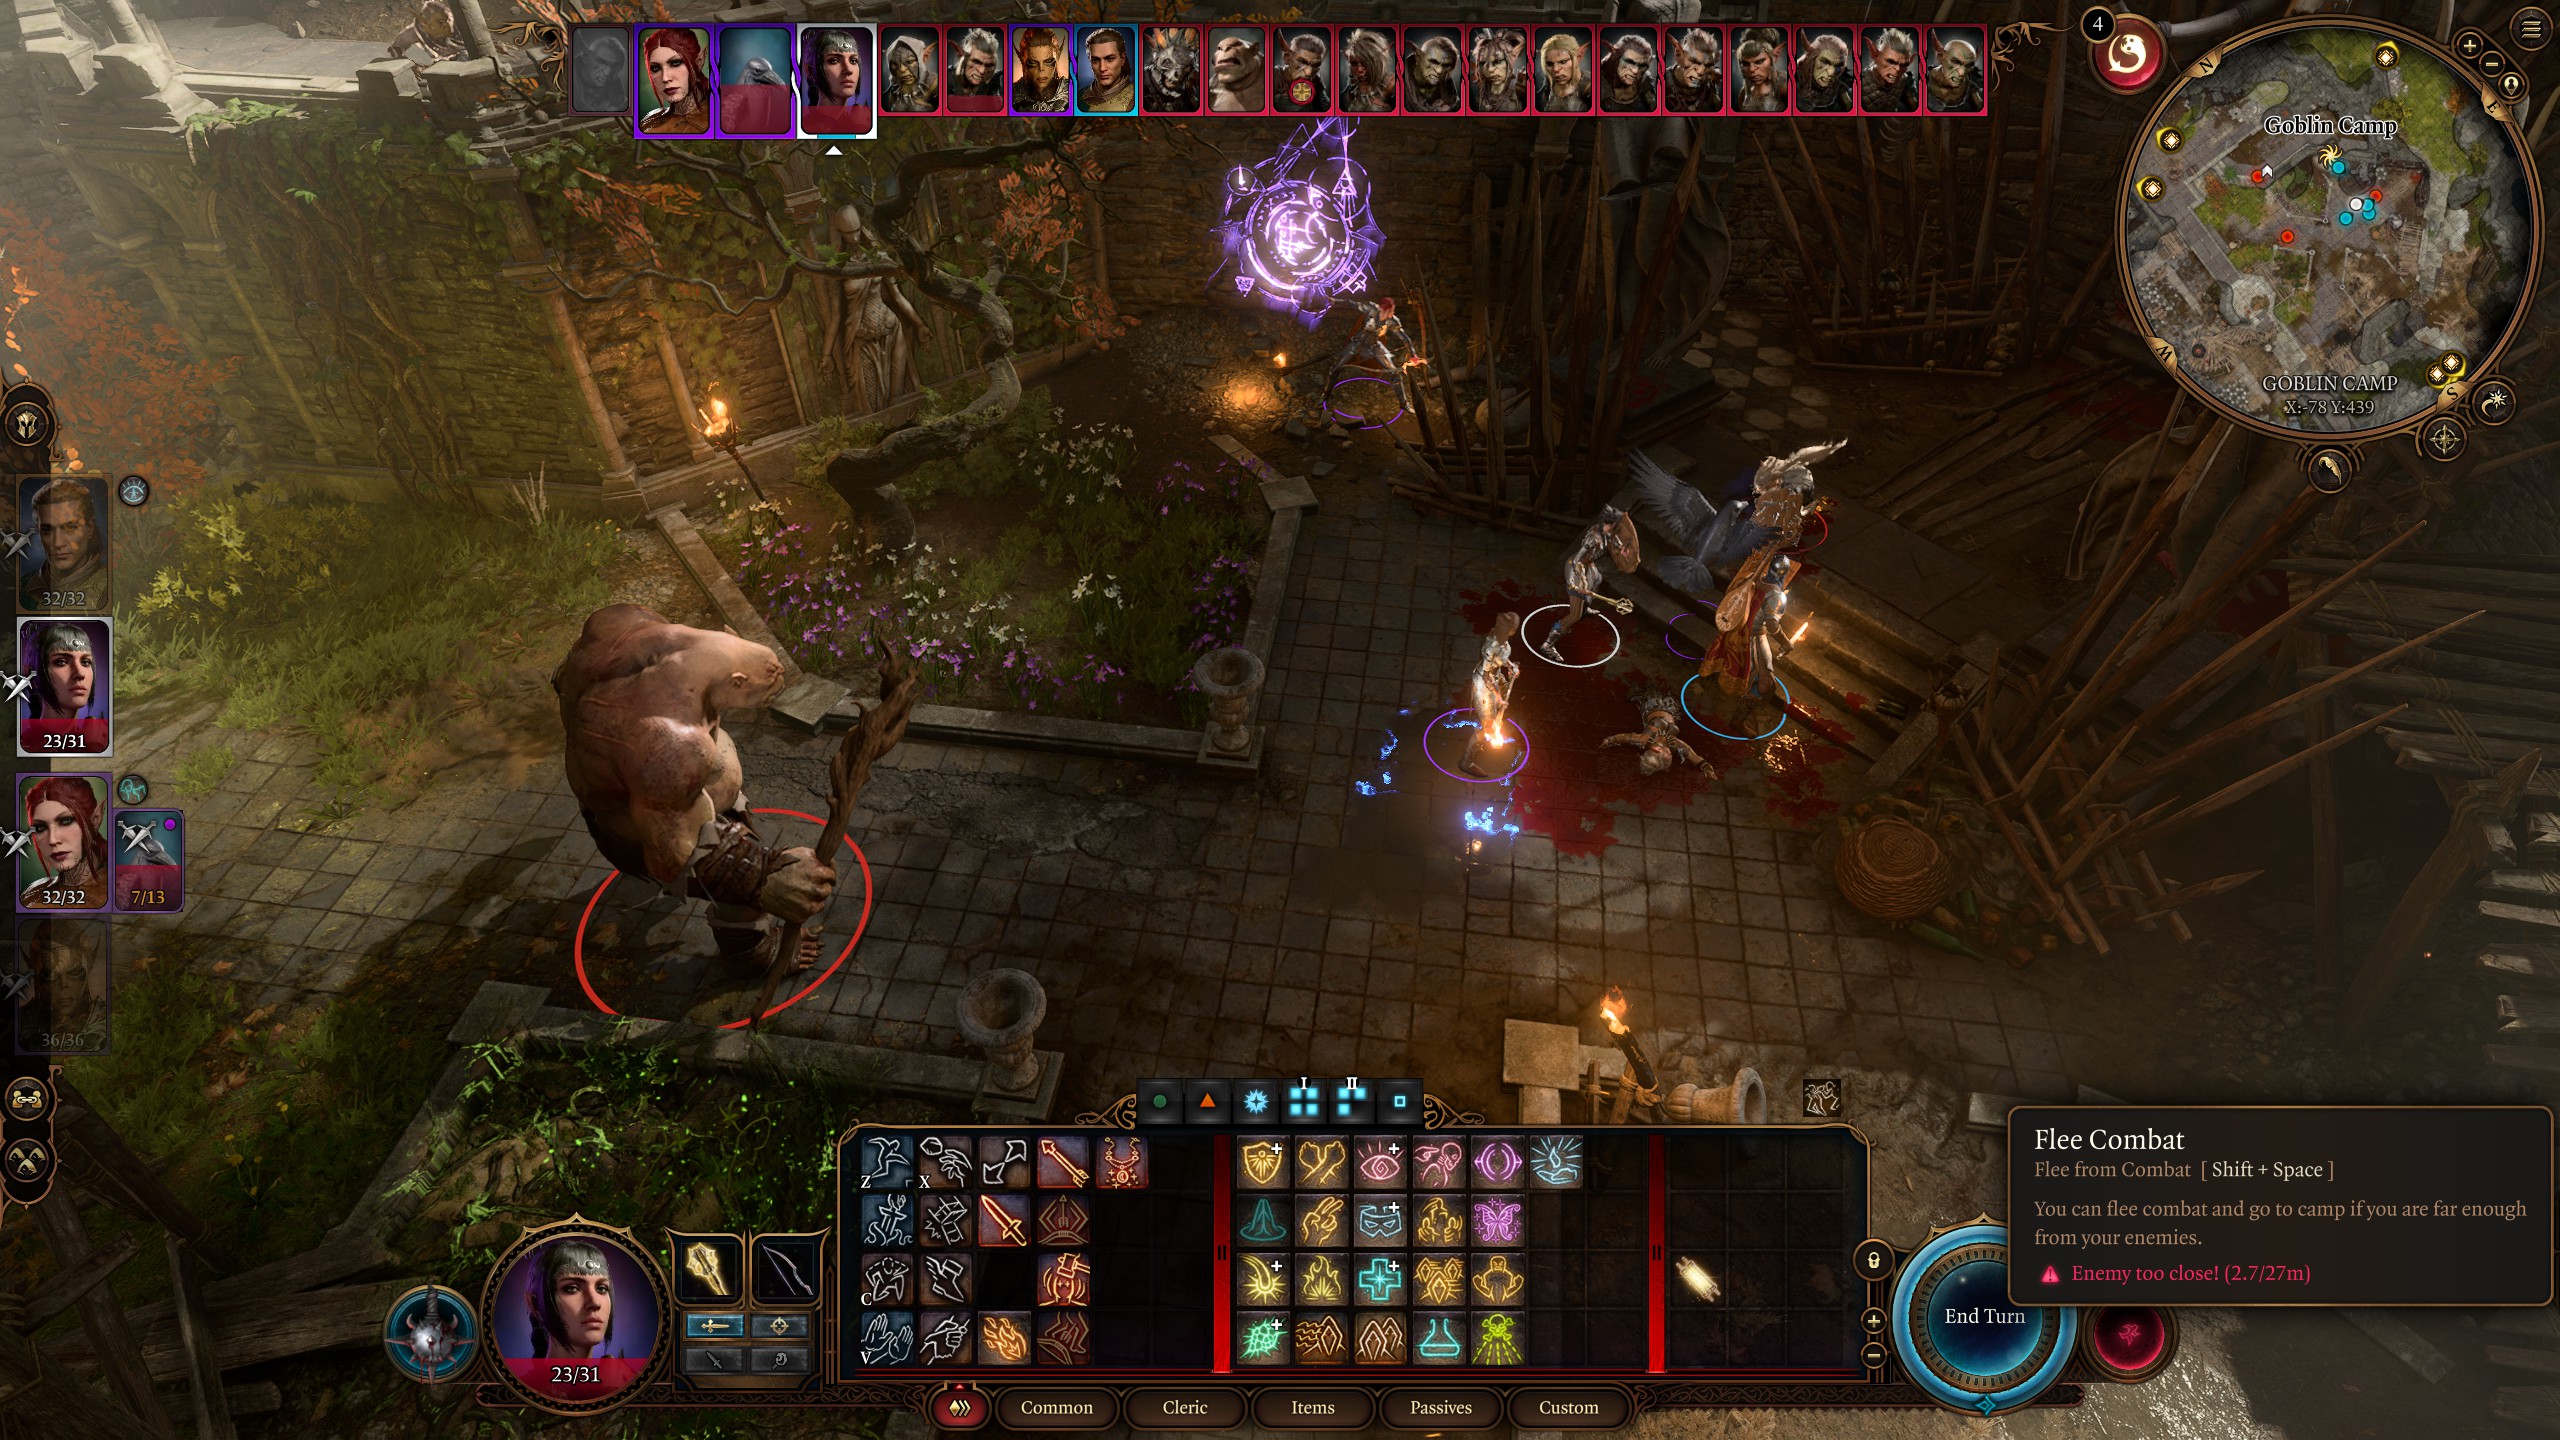
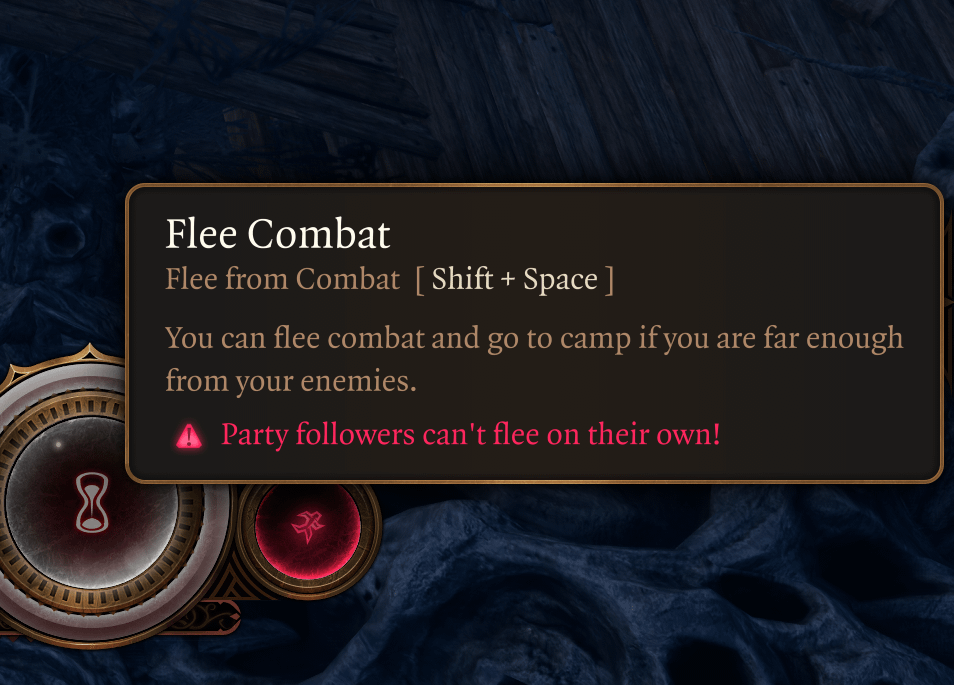
Alright, let’s talk about how I managed to actually escape combat in Baldur’s Gate 3 using a controller. It was a whole journey, lemme tell ya.

So, first off, I jumped into BG3 thinking, “Controllers? Easy peasy!” Boy, was I wrong. Combat starts, and I’m like, “Okay, where’s the ‘run away screaming’ button?” Turns out, it’s not that straightforward. I spent a good hour just trying to figure out how to disengage properly without getting my party wiped.
The Initial Chaos
- I mashed every button. Seriously, every single one. A, B, X, Y, the bumpers, the triggers, the freaking sticks! Nothing. My character just stood there like a deer in headlights, waiting to get clobbered.
- Then I tried navigating the radial menu. That thing’s a lifesaver for spells and abilities, but for running away? Nah. Too slow. I’m getting attacked, I don’t have time to scroll through a menu!
- I even tried just walking away. Big mistake. Opportunity attacks galore. My poor Astarion got smacked into next week.
The “Eureka!” Moment (Kinda)
Finally, after what felt like an eternity, I stumbled upon the solution. It’s not elegant, but it works. Here’s the deal:
- Disengage (The Key!): You gotta find the “Disengage” action. It’s usually buried in the common actions part of the radial menu. That took me ages to realize it was even there.
- Tactical Retreat: After disengaging, use your movement to get as far away as humanly (or elvenly) possible. Keep an eye on the enemy’s movement range. You don’t want them chasing you down.
- Split the Party (If Needed): Sometimes, you need to sacrifice someone to buy time. Not ideal, but if your healer is about to get taken out, split them off and have them run while the rest of the party acts as a distraction.
My First Successful Escape

Okay, so I put this into practice against some goblins. These green dudes were NOT playing around. I had Shadowheart on the brink of death, and Astarion was already down. I knew I had to bail.
- I selected Shadowheart, fumbled through the radial menu (still not a pro), and finally found “Disengage.” Used it.
- Then, I booked it. I used her movement to get behind a big rock, breaking line of sight.
- Next, Lae’zel and my character (a Tiefling Warlock) laid down some covering fire (Eldritch Blast for the win!). This distracted the goblins long enough for Shadowheart to get some distance.
- We eventually managed to regroup further down the path and heal up. It was messy, but we survived!
Lessons Learned (The Hard Way)
- Positioning is Everything: Before combat even starts, think about your escape route. Where can you run to break line of sight? Are there any choke points you can use to slow down the enemy?
- Disengage is Your Friend: Seriously, learn where it is in the radial menu. Memorize it. Love it.
- Don’t Be Afraid to Run: Sometimes, discretion is the better part of valor. There’s no shame in admitting you’re outmatched and legging it.
- Controller Quirks: BG3 on controller is amazing but some actions can be a pain to pull off quickly. Practice navigating the menus and getting comfortable with the button layout.
So, that’s how I learned to flee combat in BG3 with a controller. It was a bumpy ride, but now I’m a master of tactical retreats. (Okay, maybe not a master, but I can usually get away without too many casualties.) Hope this helps you out!


