My Little Project: Making a CM Punk BITW Shirt
So, I got this idea stuck in my head the other day. I really wanted a CM Punk shirt, specifically one shouting out his whole “Best in the World” thing. I looked around a bit, but nothing quite grabbed me, or maybe I just felt like making something myself, you know? Get the hands dirty a bit.

First things first, I needed a plan. Didn’t want anything too complicated. I figured a solid text design, maybe with that iconic fist or some stars, would do the trick. I messed around on my computer for a while, trying different fonts until I found one that felt right – strong, kinda like Punk’s vibe.
Getting Started
- I decided the easiest way for me to do this at home was using iron-on transfer paper. Seemed straightforward enough.
- Picked up a plain black t-shirt. Felt like a good classic base for the design.
- Bought some transfer paper specifically made for dark fabrics. That’s important, learned that the hard way before.
The Actual Making Of It
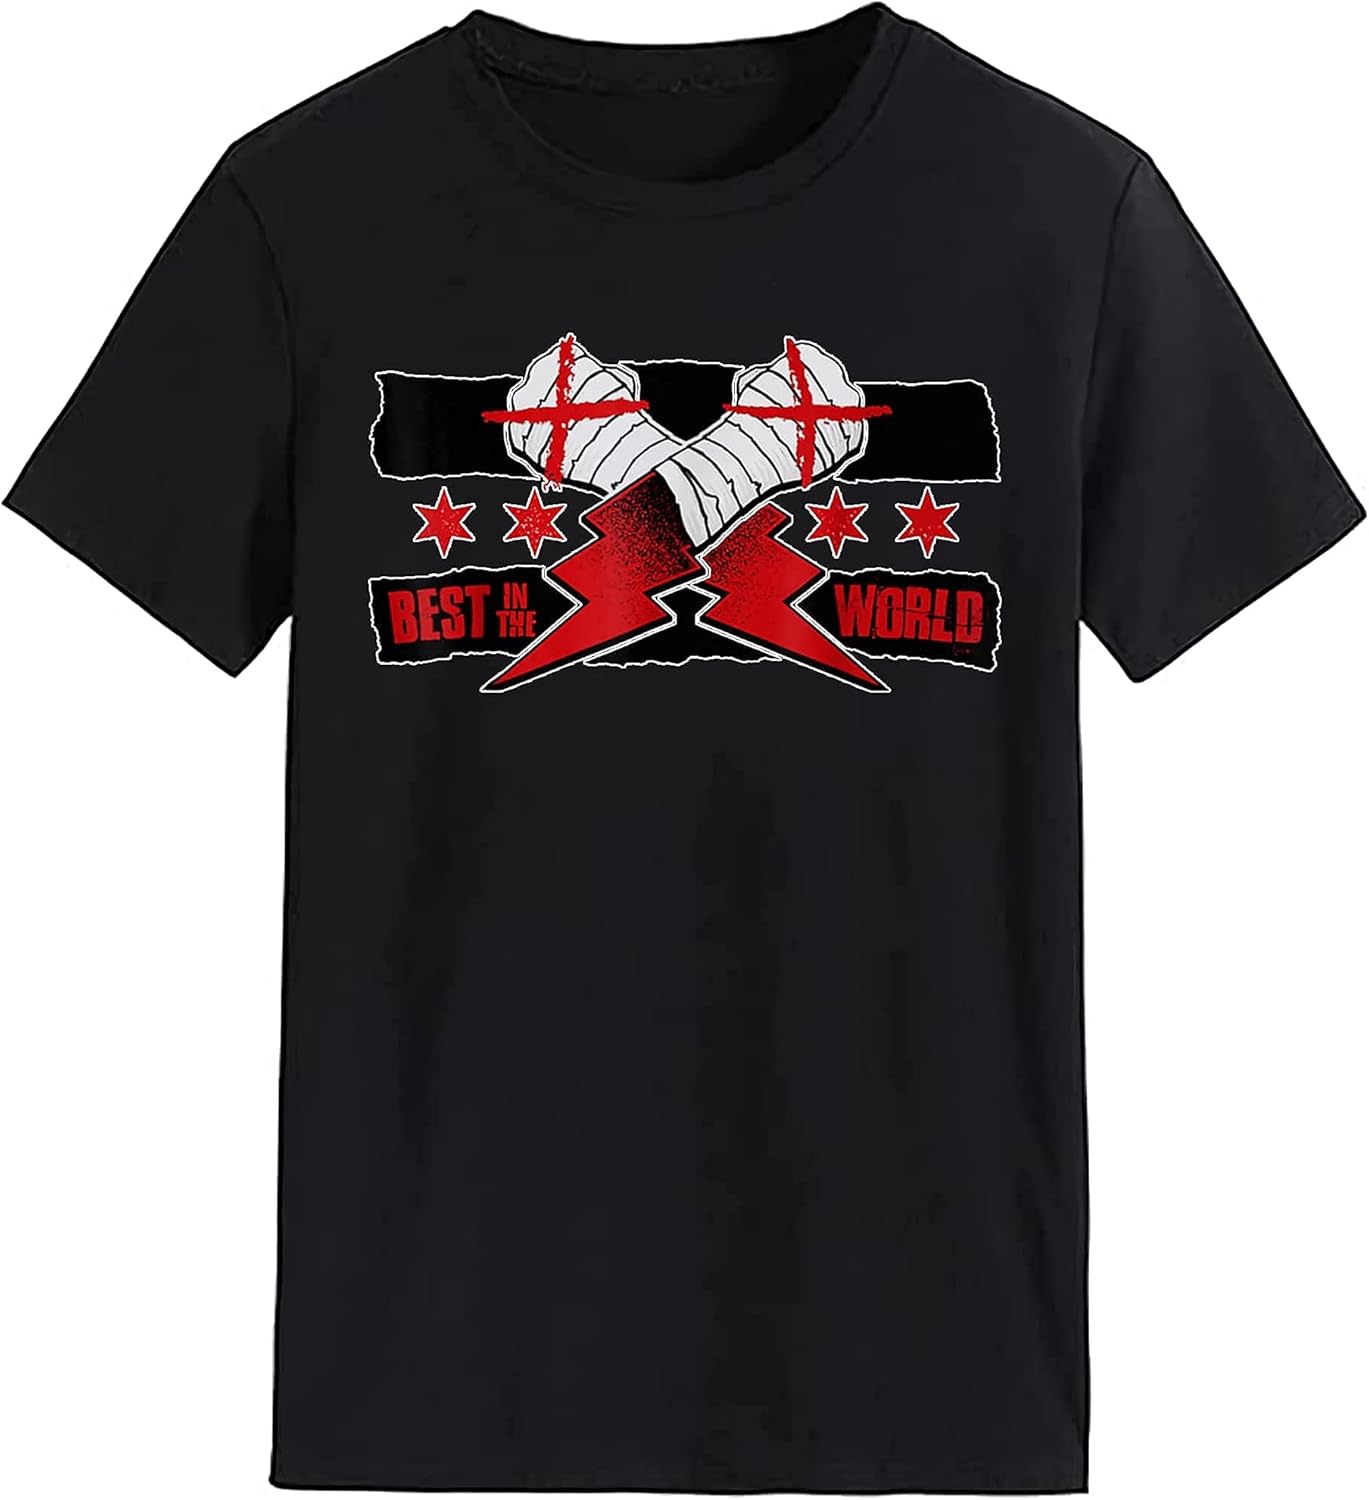
Alright, so I had my design ready on the computer. Simple text: “BEST IN THE WORLD”. I added a couple of stars on either side, just for a little extra something. Now, the crucial part: before printing, I had to remember to mirror the image. If you forget that, your text comes out backward on the shirt. Dodged that bullet!
I printed the design onto the transfer paper using my regular inkjet printer. Looked pretty good. Then came the cutting. This part needed some patience. I carefully cut around the letters and stars, getting as close as I could without messing up the design itself. Took a little while, gotta have steady hands.
Next up, the main event: ironing. I laid the black shirt flat on the ironing board, smoothed out any wrinkles. Then I placed the cut-out transfer design face down exactly where I wanted it on the shirt. Getting the placement right took a few tries, just eyeballing it until it looked centered and straight.
Then, I grabbed the iron. Checked the instructions on the transfer paper packet – usually it’s high heat, no steam. I pressed down hard and evenly, moving the iron all over the design area for the recommended time. You really gotta put some muscle into it to make sure it sticks properly.
After the ironing, you have to let it cool down for a bit. This is always the tense part. Once it was cool to the touch, I slowly, carefully started peeling off the backing paper. Started from a corner… and yes! It worked! The design transferred onto the shirt.
The Result
Honestly, I was pretty pleased with how it turned out. It’s not like, store-bought perfect, you know? There are maybe tiny imperfections if you look super close. But it looks cool! It’s my own custom CM Punk shirt. Wore it out already, felt pretty good.
It was a fun little afternoon project. Definitely learned that taking your time with the cutting and being thorough with the ironing makes a big difference. Might even try making another design sometime. Simple stuff, but satisfying when you make it yourself.


