Okay, so today I wanted to try and create a draft outfit for Cody Williams. Here’s how it all went down.
Getting Started
First, I opened up my favorite image editing software. I usually just mess around with basic tools, nothing too fancy.
Finding the Base
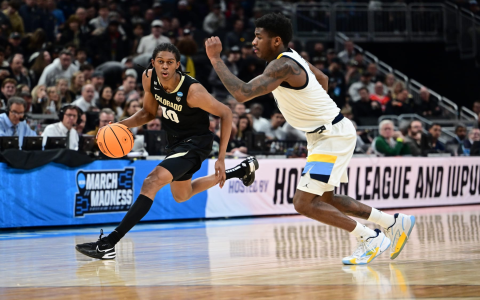
I spent some time searching for a good base image of Cody Williams. I wanted something that was clear, showed his full body, and was at a decent resolution. It took a bit of scrolling, but I finally found one I liked. It was a pretty standard shot of him.
The Outfit Selection
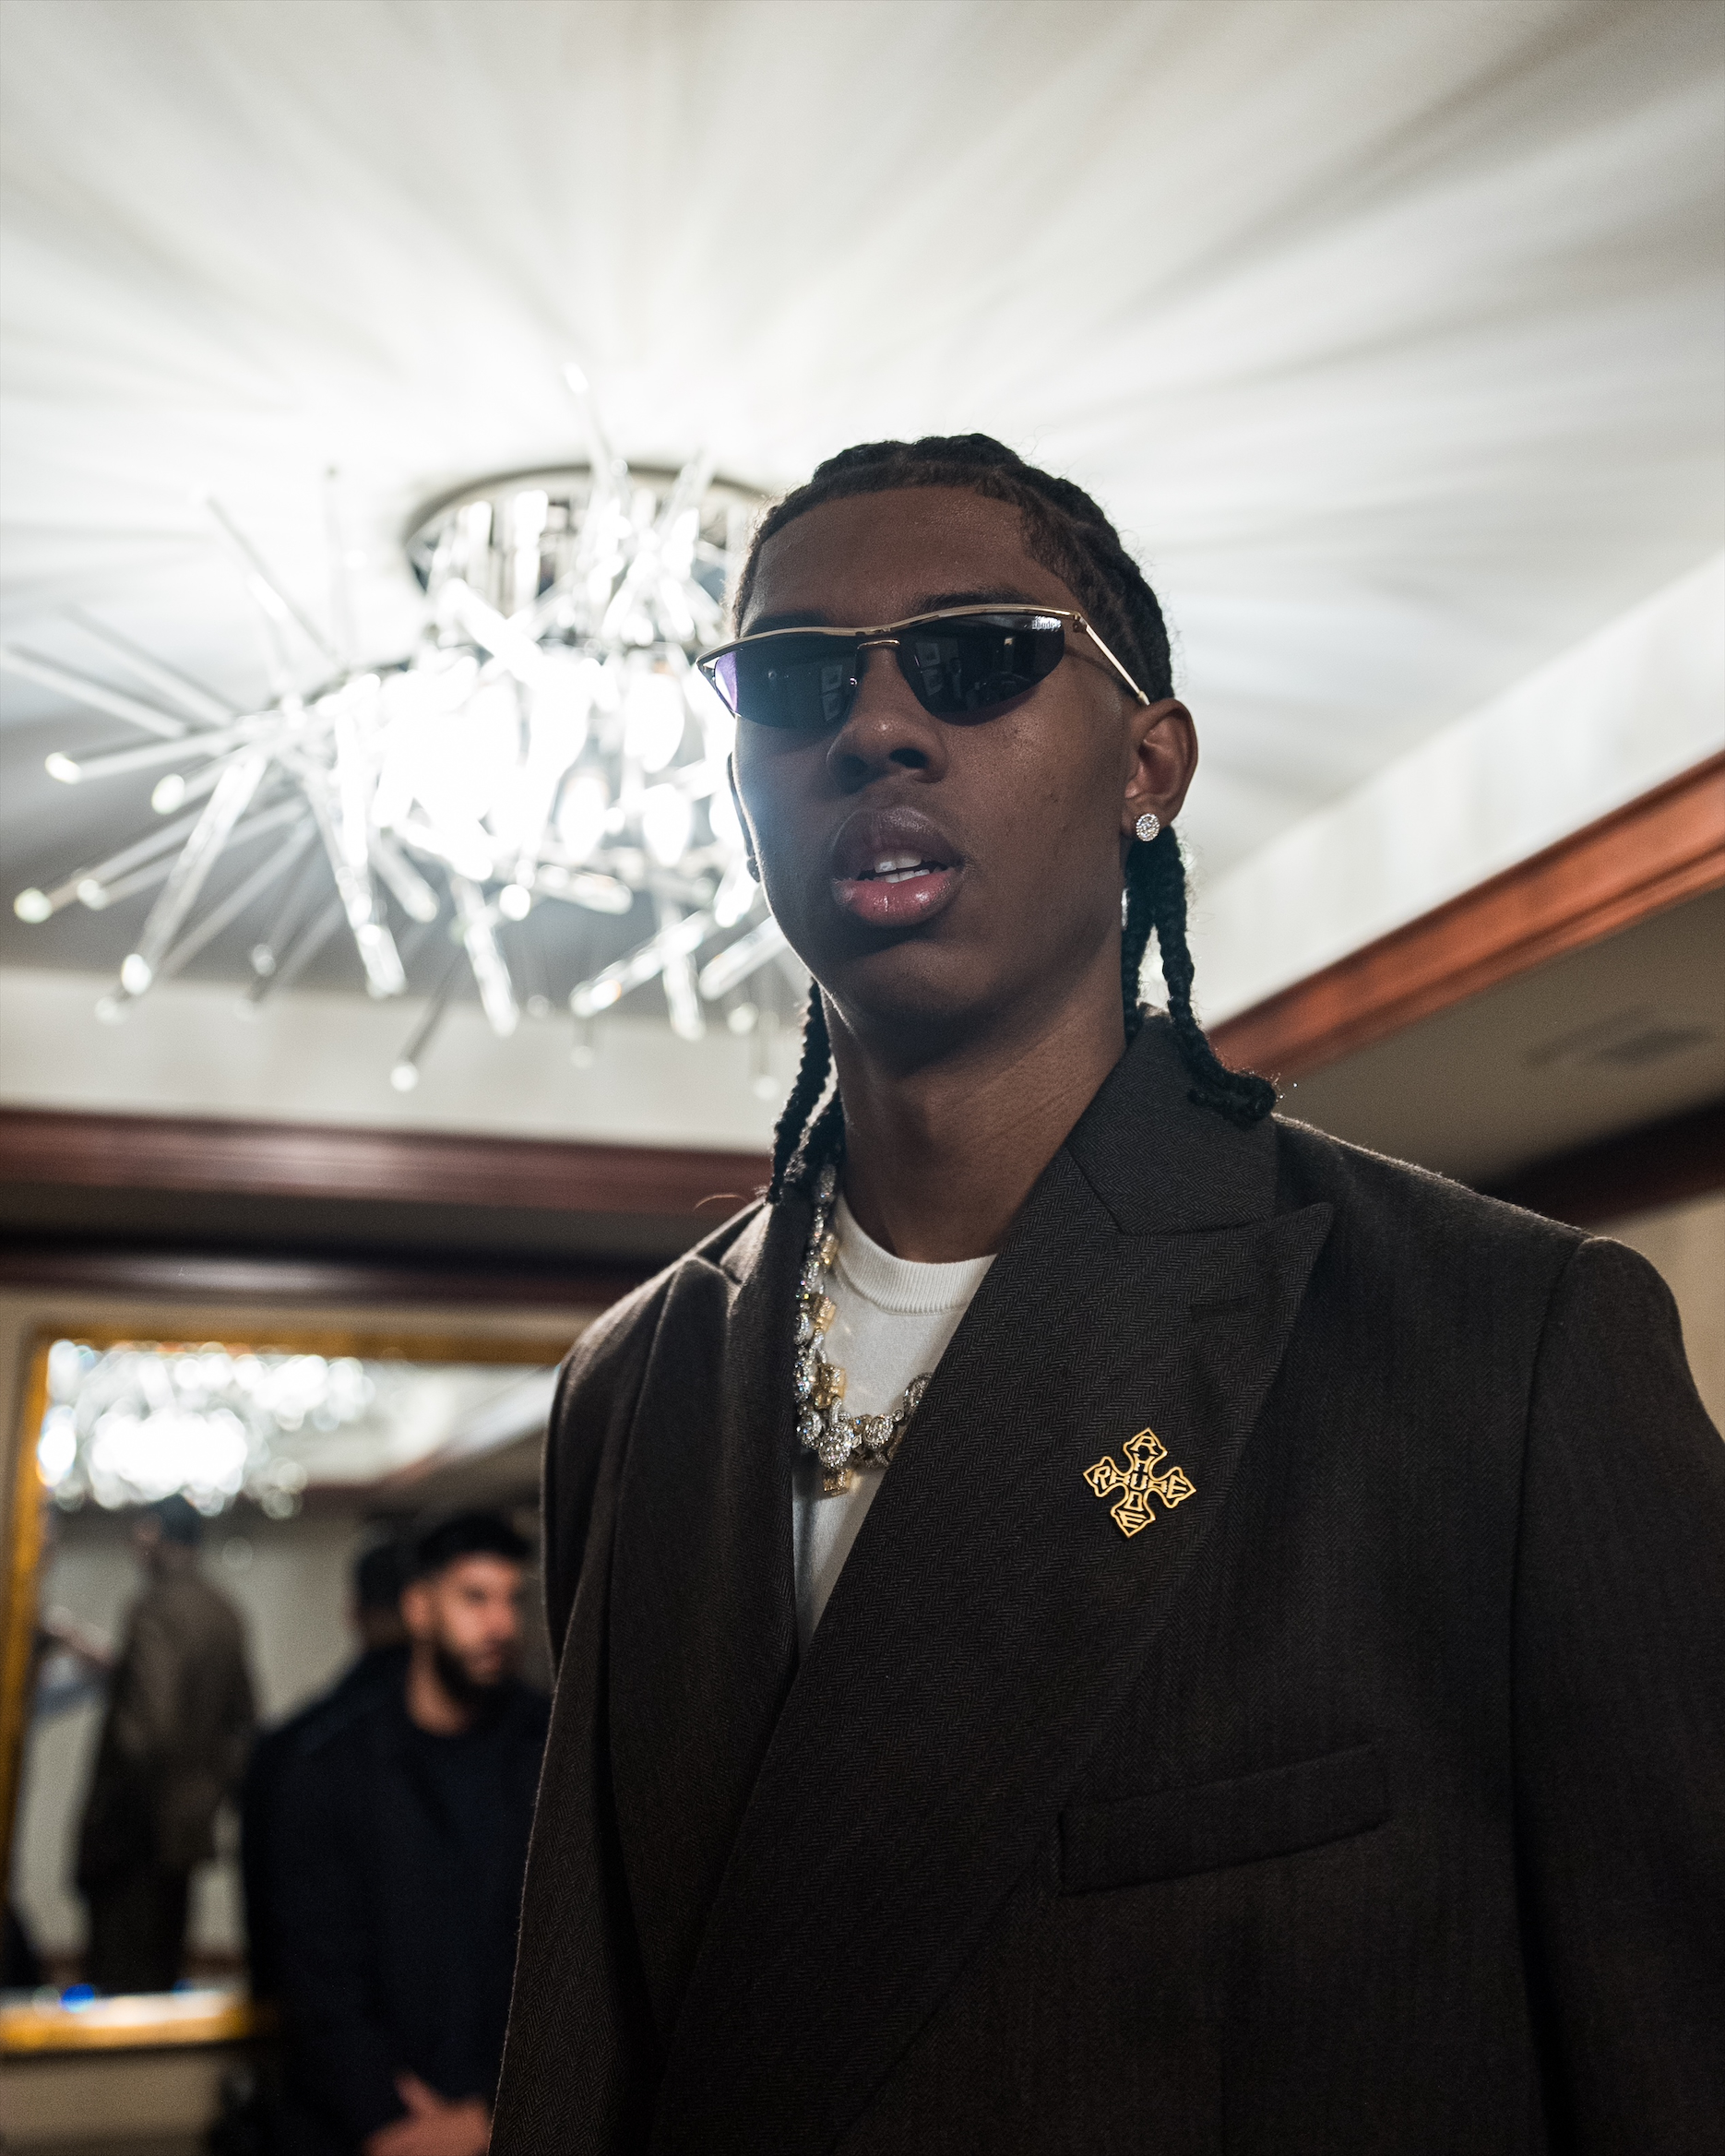
This is where the fun (and sometimes frustrating) part began. I started digging through images of different clothing items – jerseys, shorts, shoes, the whole deal. I was going for something that felt like a realistic draft day look. Something sharp but also young and modern.
- I picked out a nice-looking suit jacket.
- Then I found some pants to match.
- I added in a simple, clean shirt underneath.
Putting It All Together
This part took the longest. I had to carefully cut out each clothing item and layer it onto the base image of Cody. It was a lot of trial and error, resizing, and adjusting to make it look somewhat * is diffcult.
I just kept tweaking and adjusting until I was reasonably happy with it.
The Final Result
After all that work, I finally had something I was ready to share. It’s not perfect, of course, but it was a fun little project, I did it!
That’s it – the whole process, from start to finish. Hope you enjoyed this little behind-the-scenes look!


